Whether you have a new website or existing one, being able to track the number of new or return visitors, where they are from, how they navigate your website, and how long they stay on a page before leaving is very valuable for understanding how to grow and increase visitors over time. Fortunately, there are many tools now that allow us to track and present all that data so we don’t have to build our own. Google Analytics (GA) is a well-recognized free service that provides a suite of valuable tools that cover the needs of most small business in this area. In this article, I’ll be covering how to get set up with GA, understand how to use the data reports, and how to customize it for your own business goals. Let’s begin by setting up an account with GA!
Setting up your Google account.
If you already have a Google account for Gmail, YouTube, Google Drive or one of its other services you can just use that Google account. Otherwise, you’ll first need to create a new one.
Signing up with Google Analytics.
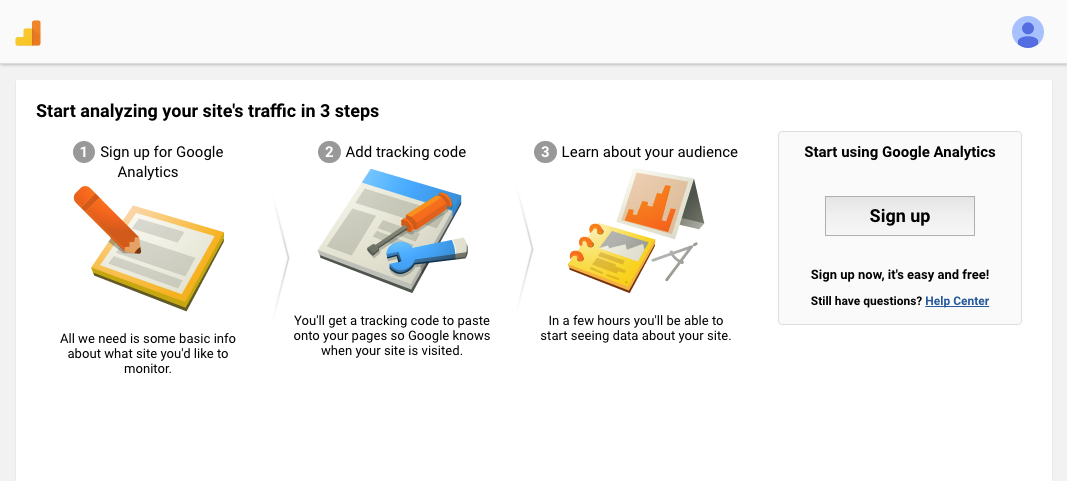
Google makes it easy to get started with GA. Once you have your account active, you’ll be able to set up your Analytics account by going to Google Analytics main page and from the main menu selecting Sign In button. You will then be guided through the three steps you’ll need to follow in order to get started tracking visitors on your website!
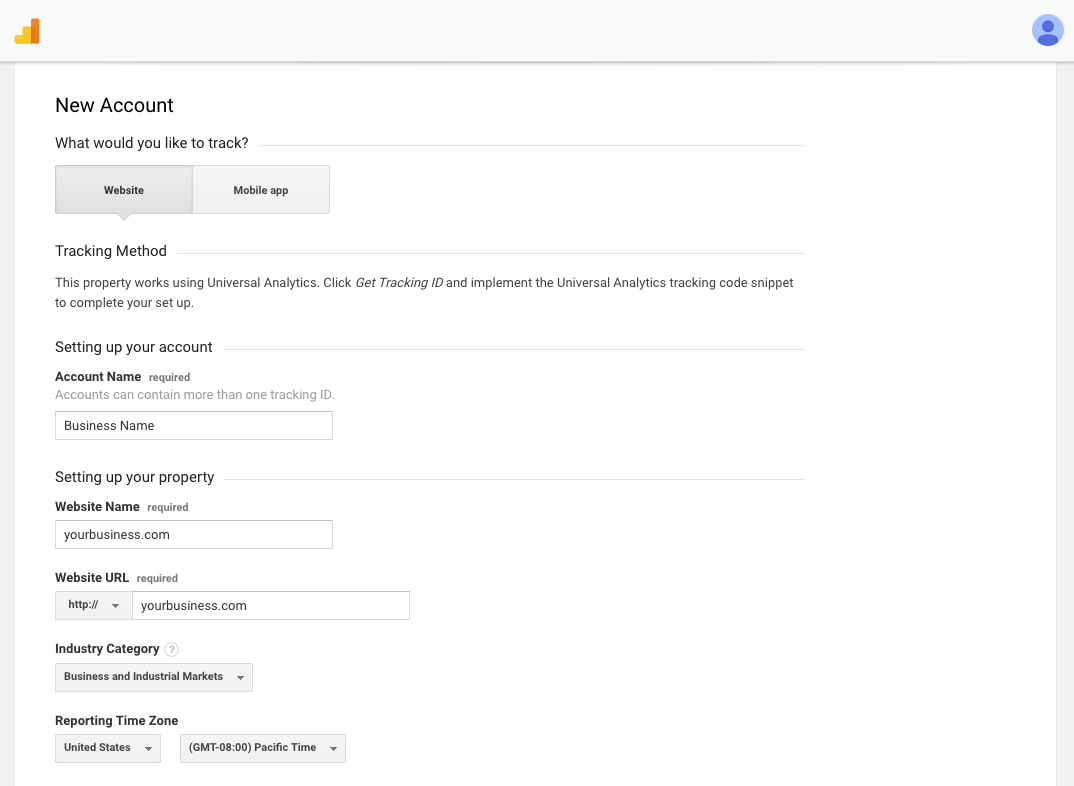
After you continue on you will be asked to fill out information about your website/business name, category, location etc.
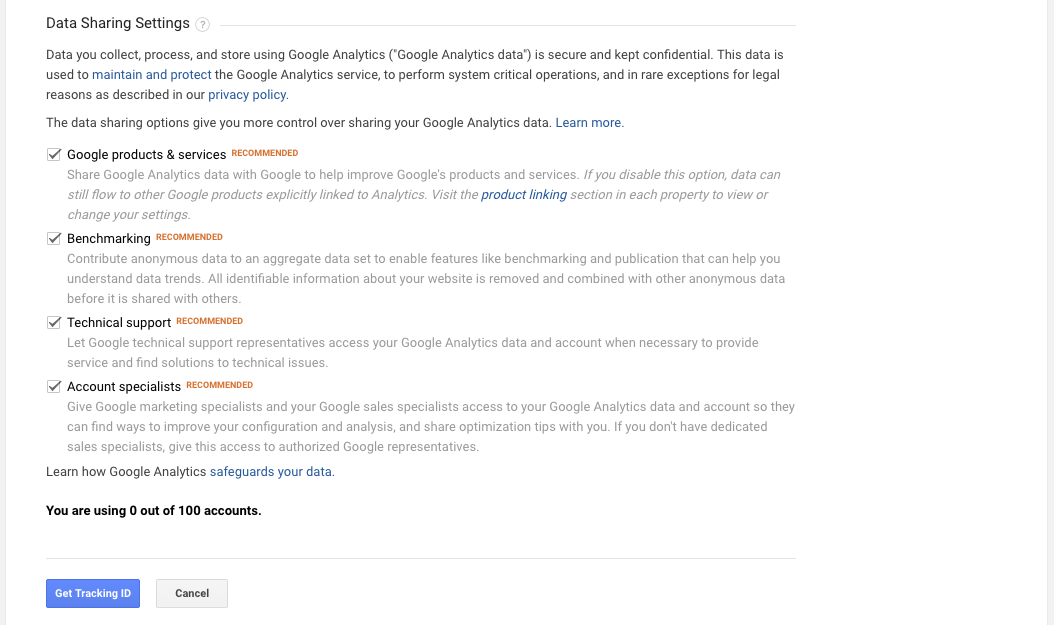
You’ll also have some other options you can choose to leave off, but I recommend just leaving the defaults. Next, click Get Tracking ID read and agree to the terms. You’ll then be redirected to the page with your tracking tag.
Installing your tracking code.
Next, you’ll need to copy and paste your tracking code before the end HEAD tag of each web page you would like to be tracked. For websites using WordPress, there is usually a place in the theme settings to place code to be output in the head. If this is too technical for you there are also plugins that make it easy across all themes and frameworks like Yoast’s plugin for Google Analytics.It will be a similar process if you’re using Shopify or Tumblr but if you do need help there should be easy directions on each of the platforms.
![]()
Setting up your goals
Alright, alright! Assuming everything went smoothly your pixel should be alive and firing when visitors view your pages. If you just want to track the number of visitors and a few other basic metrics then you can stop here, however, there’s a lot more you can do with GA that really makes it that much more valuable for your business.
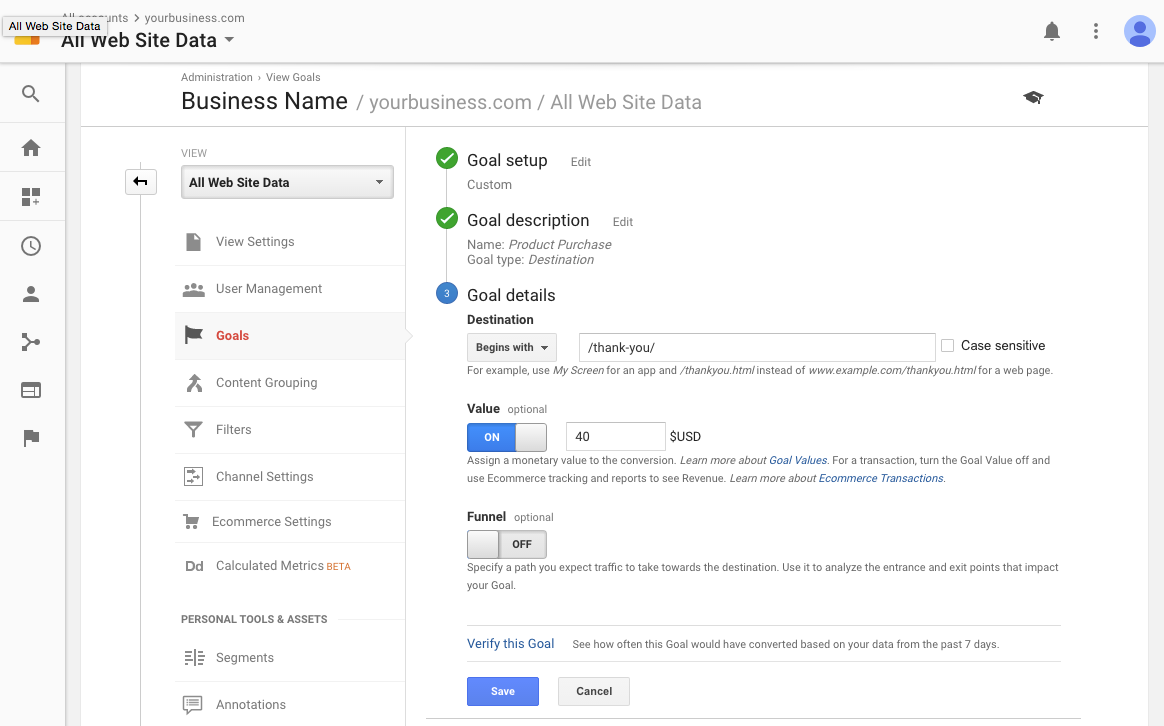
One thing that we’ll cover now is configuring your custom goals – let me explain. Setting up goals allow you to tell GA which actions your visitors take is important to your business and what must happen in order for that goal to be completed. A goal could be getting appointments, reservations, inquiring about your estimates, location etc. This could mean when a customer lands on your thank you page a successful purchase was made. Or, if someone lands on an add to cart page that could be another goal along the way to the purchase.
To create a goal click on the admin button found in the lower left-hand navigation. From there navigate to the “View” and “Goals”.
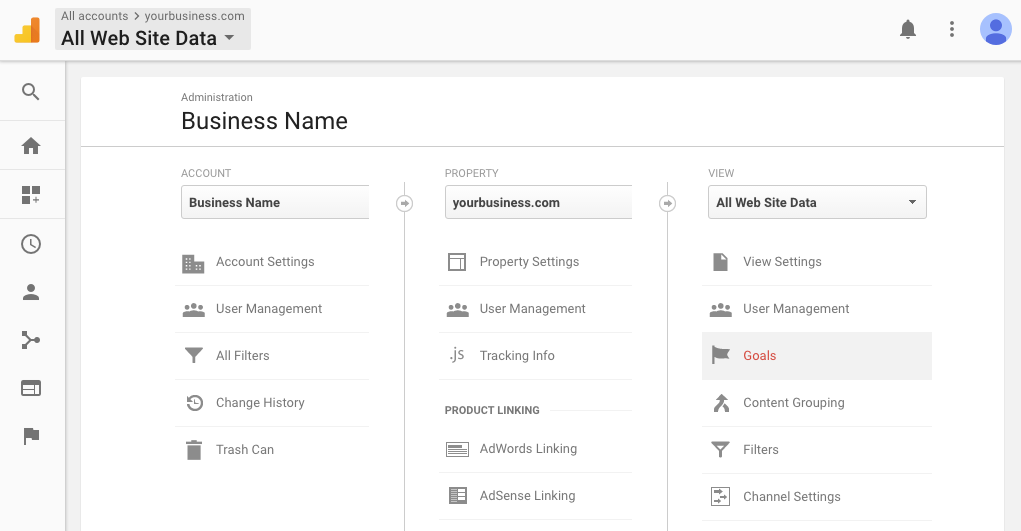
From here select “New Goal”.
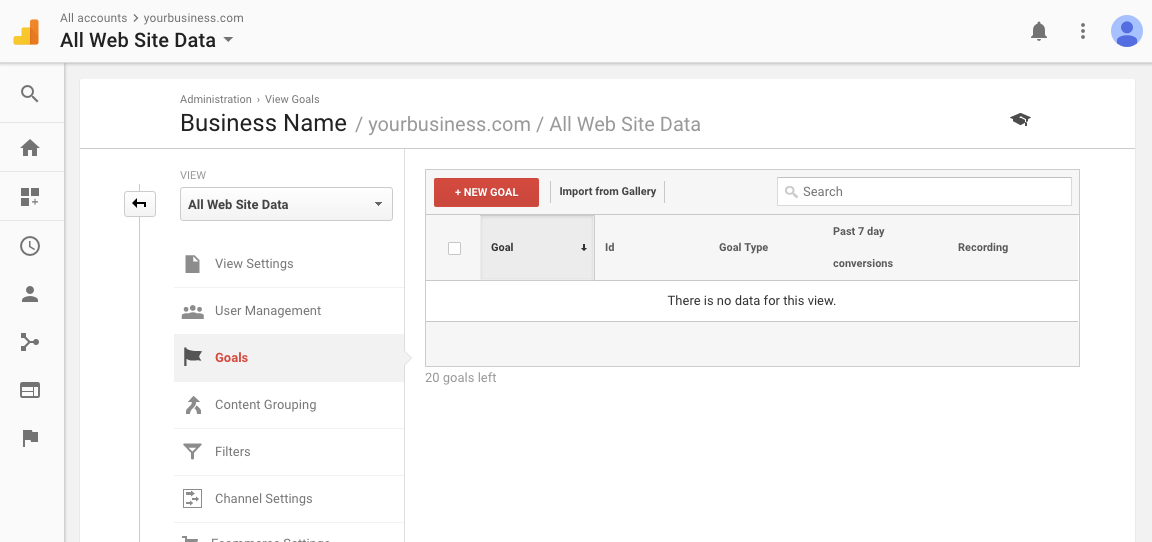
Select the custom option and click the Continue button.
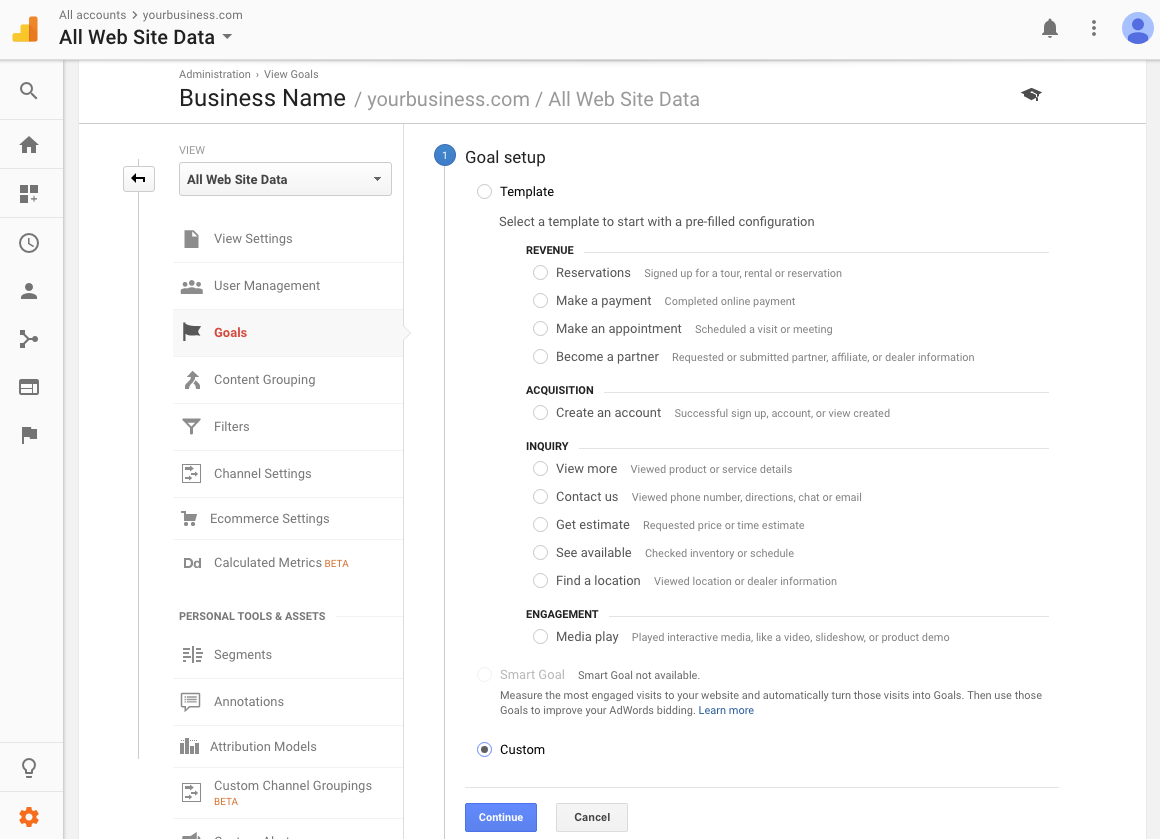
Give it the appropriate description name, check the destination option and click the Continue button.
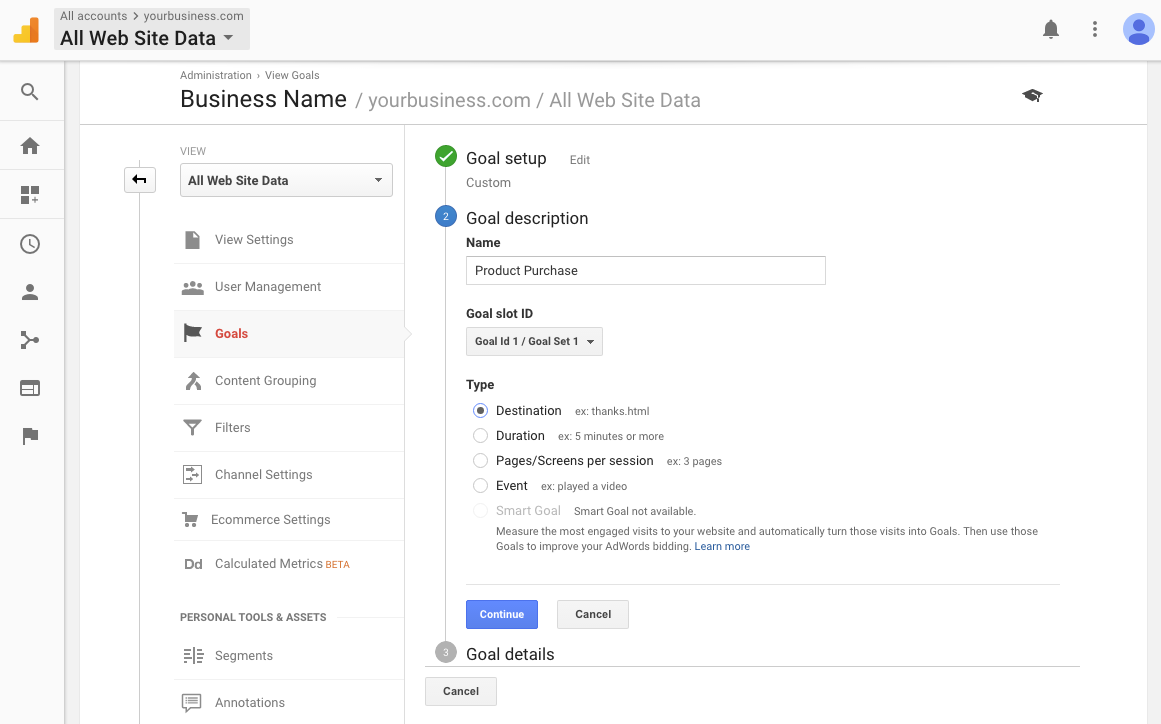
Now you’ll define what your goal is. In this case, we would like to fire a goal when someone lands on a page that begins with “thank-you”. We’ll also specify the amount that we make when a goal is achieved and click the Save button.
As you can see this is a great way to track traffic campaigns to determine what is and isn’t working. For each of your goals, you can repeat this process.
